


Happy Valentine's Day everyone, and greetings from a DIY'er in Ohio!
Thanks so much Denyse for asking me to guest post today, and I hope you had the happiest of birthdays and that I am able to entertain your readers who take time out of their day to visit "Glitter, Glue & Paint" I am Jeanette, and I have been a very casual blogger but serious DIY'er at Snazzy Little Things for the last year. Denyse also encouraged me to start a Facebook page as well, so it's now six days old!! Thank you for the polite "push" Denyse! I would be so happy to meet you there, and also don't forget to find Glitter, Glue & Paint on Facebook, too! Extreme budgets are not something that I dabble in.
For me, being
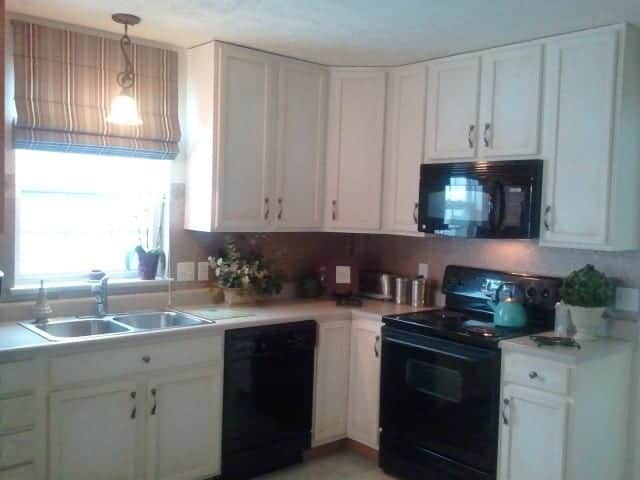
NOW? I stalk products until they are on sale -- and I know a good deal when I see it. So just for a few minutes, block ALL of what you've read about $40,000 kitchen remodels out of your mind--you simply won't find that type of remodel in my home. My goal is to entertain, and maybe enlighten you with some eye candy while I reveal my humble budget. For a mere $1600, my kitchen was completely transformed. Here is my kitchen, "before". When I moved in, I added the hardware, the light over the sink, and an awful looking valance. It sat this way from 2005 until January 2012.

I've written so much about this kitchen, so feel free to visit Snazzy Little Things, and look under "My Projects" for a full breakdown of project costs and where to buy items.
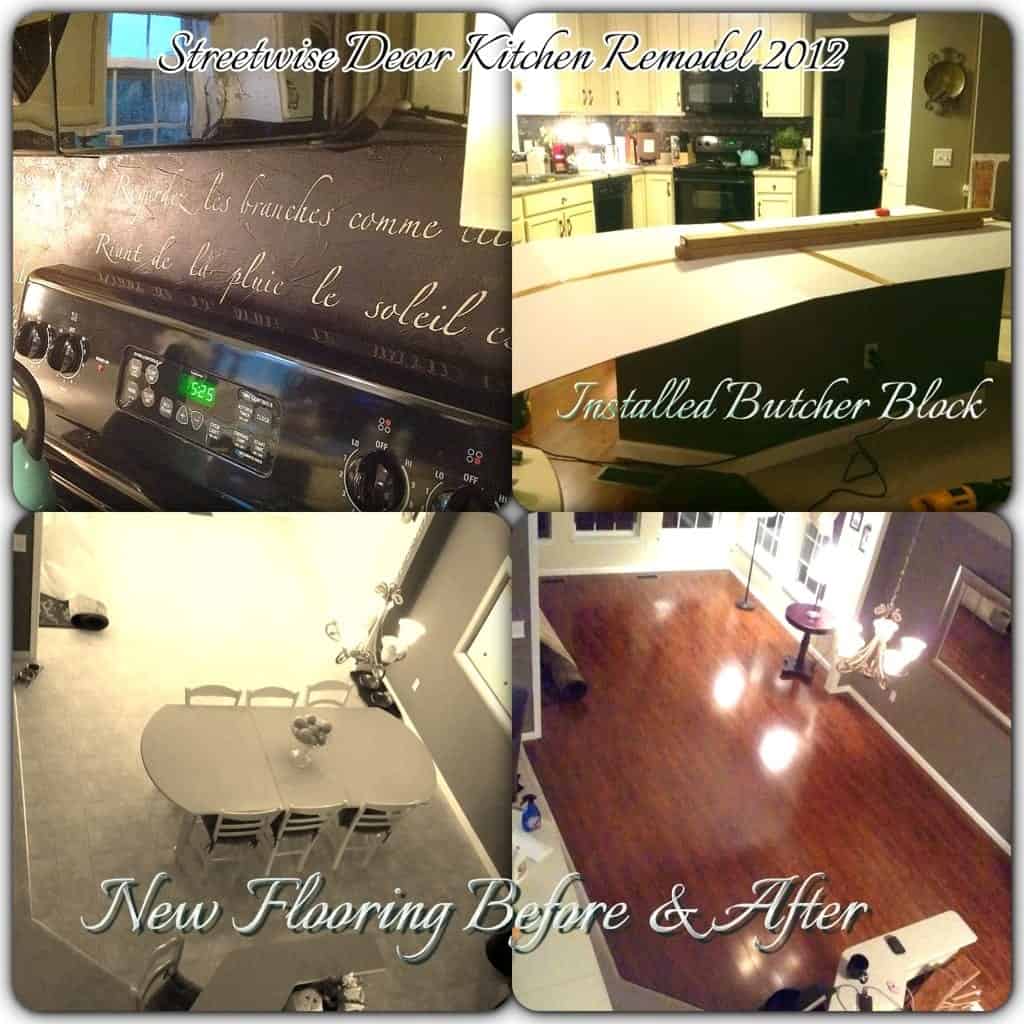
Here are various photos showing you "phases" of my year long kitchen DIY:
Images from other projects
Kitchen before, all oak

Rustoleum Transformation, this was an exciting step! and only $149!
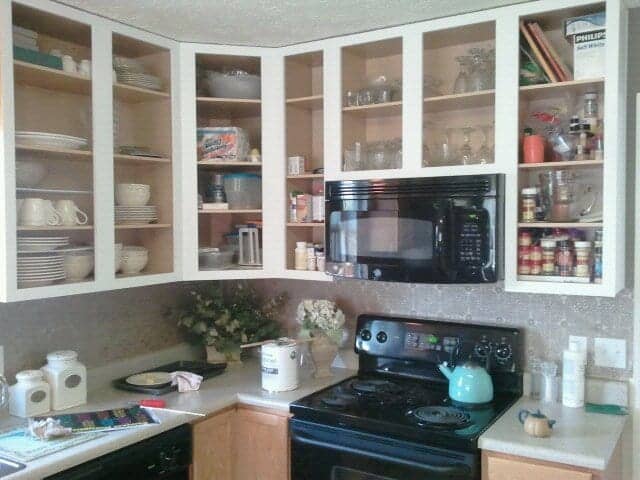
Cabinets done...now onto the backsplash. What to do that looks nice...but inexpensive?
Tore down fake tile wallpaper backsplash...here is the Gorilla Glue (a present I left for myself).
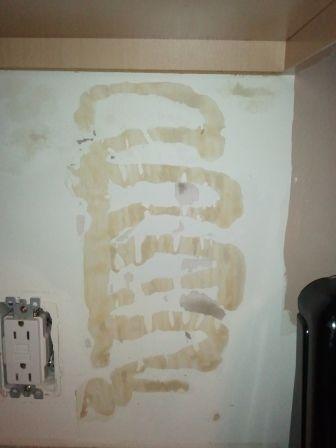
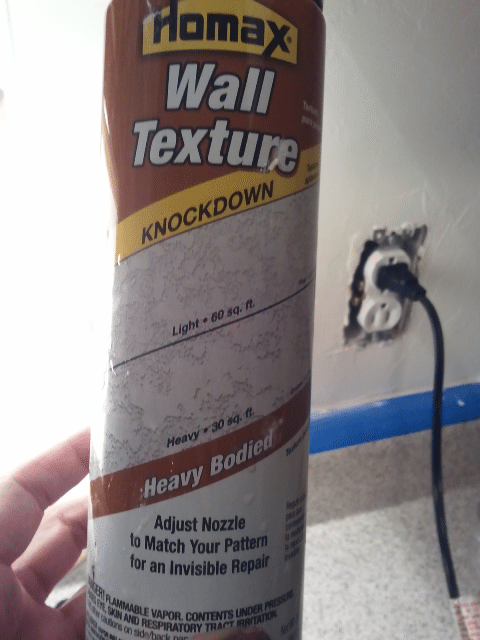
So I spackled it! Perfect solution for my IMPERFECT wall!
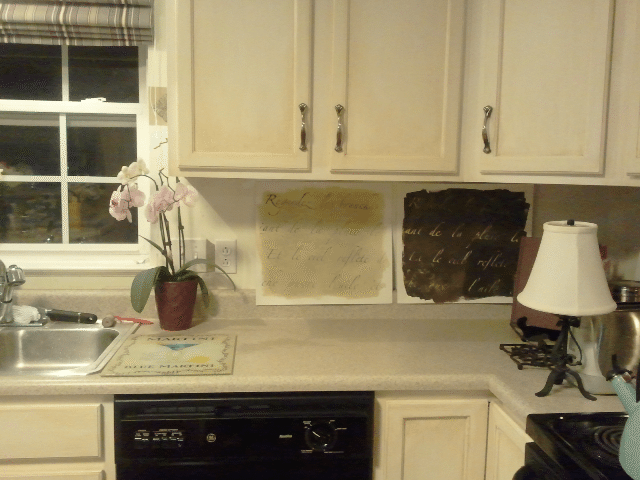
Testing out color combinations for the backsplash. The winner is?
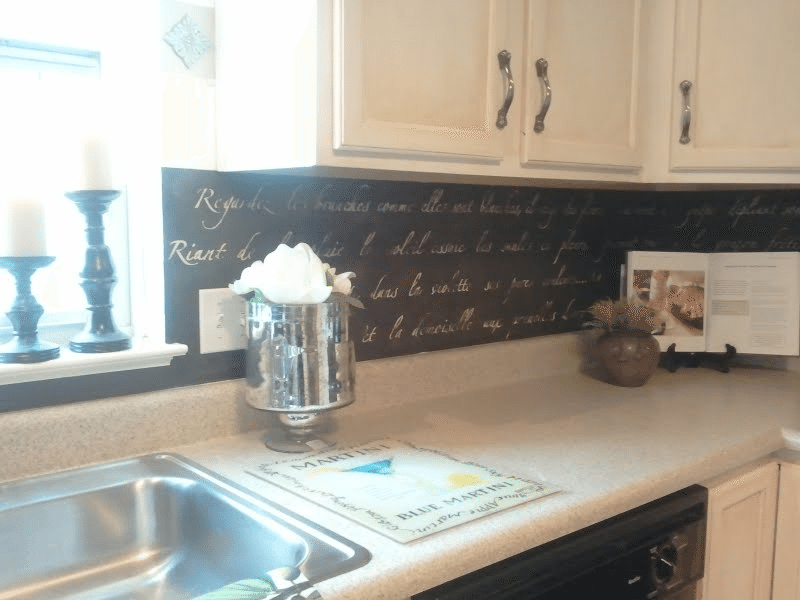
The dark backsplash...thanks my Pinterest followers!
New Stenciled Backsplash with $100 stencil from Royal Design Studio + leftover paint.
Before - kitchen island
(no one sat there, too high & shallow counter top extension made it very uncomfortable).
Before: Kitchen island=junk collector
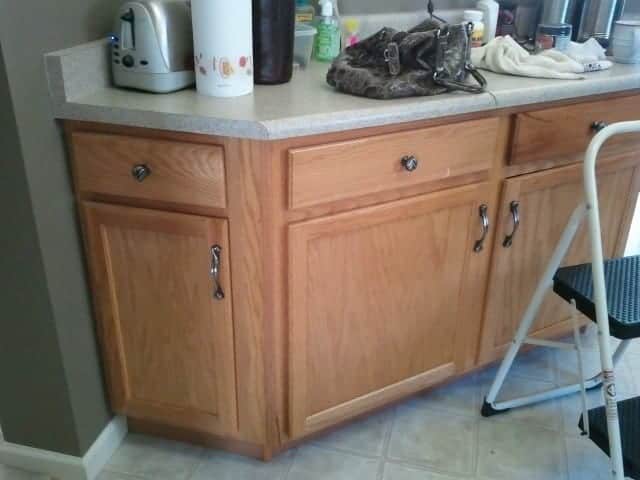
Before: Another view of the kitchen island.
See how shallow the counter top is? Had to turn sideways to sit there.
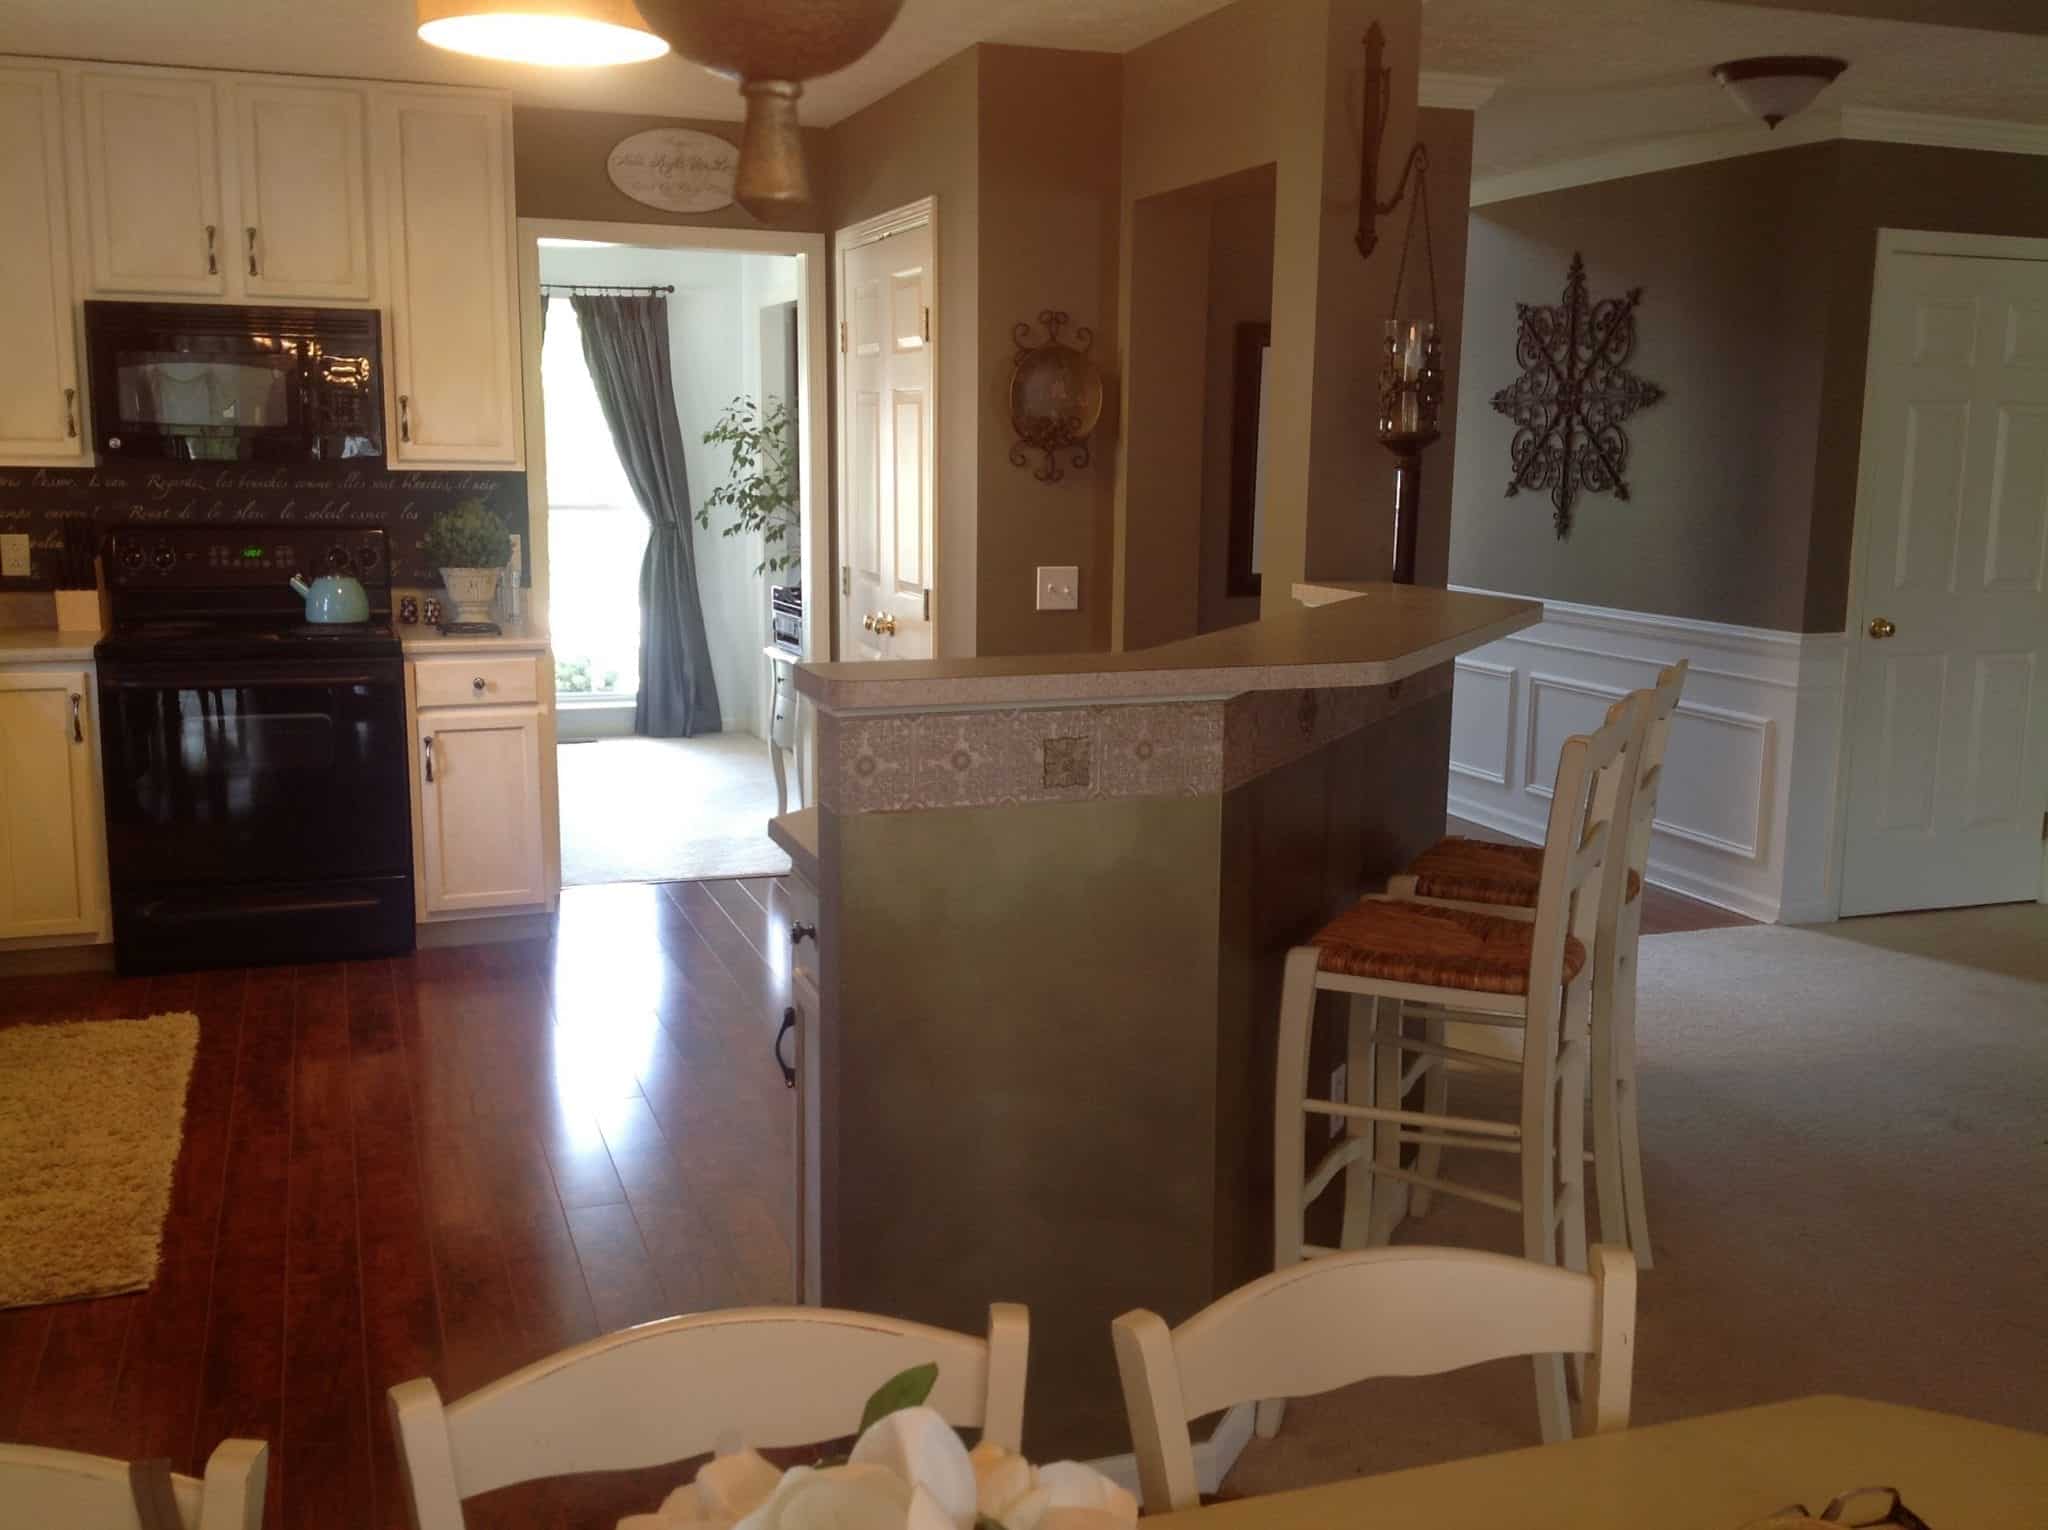
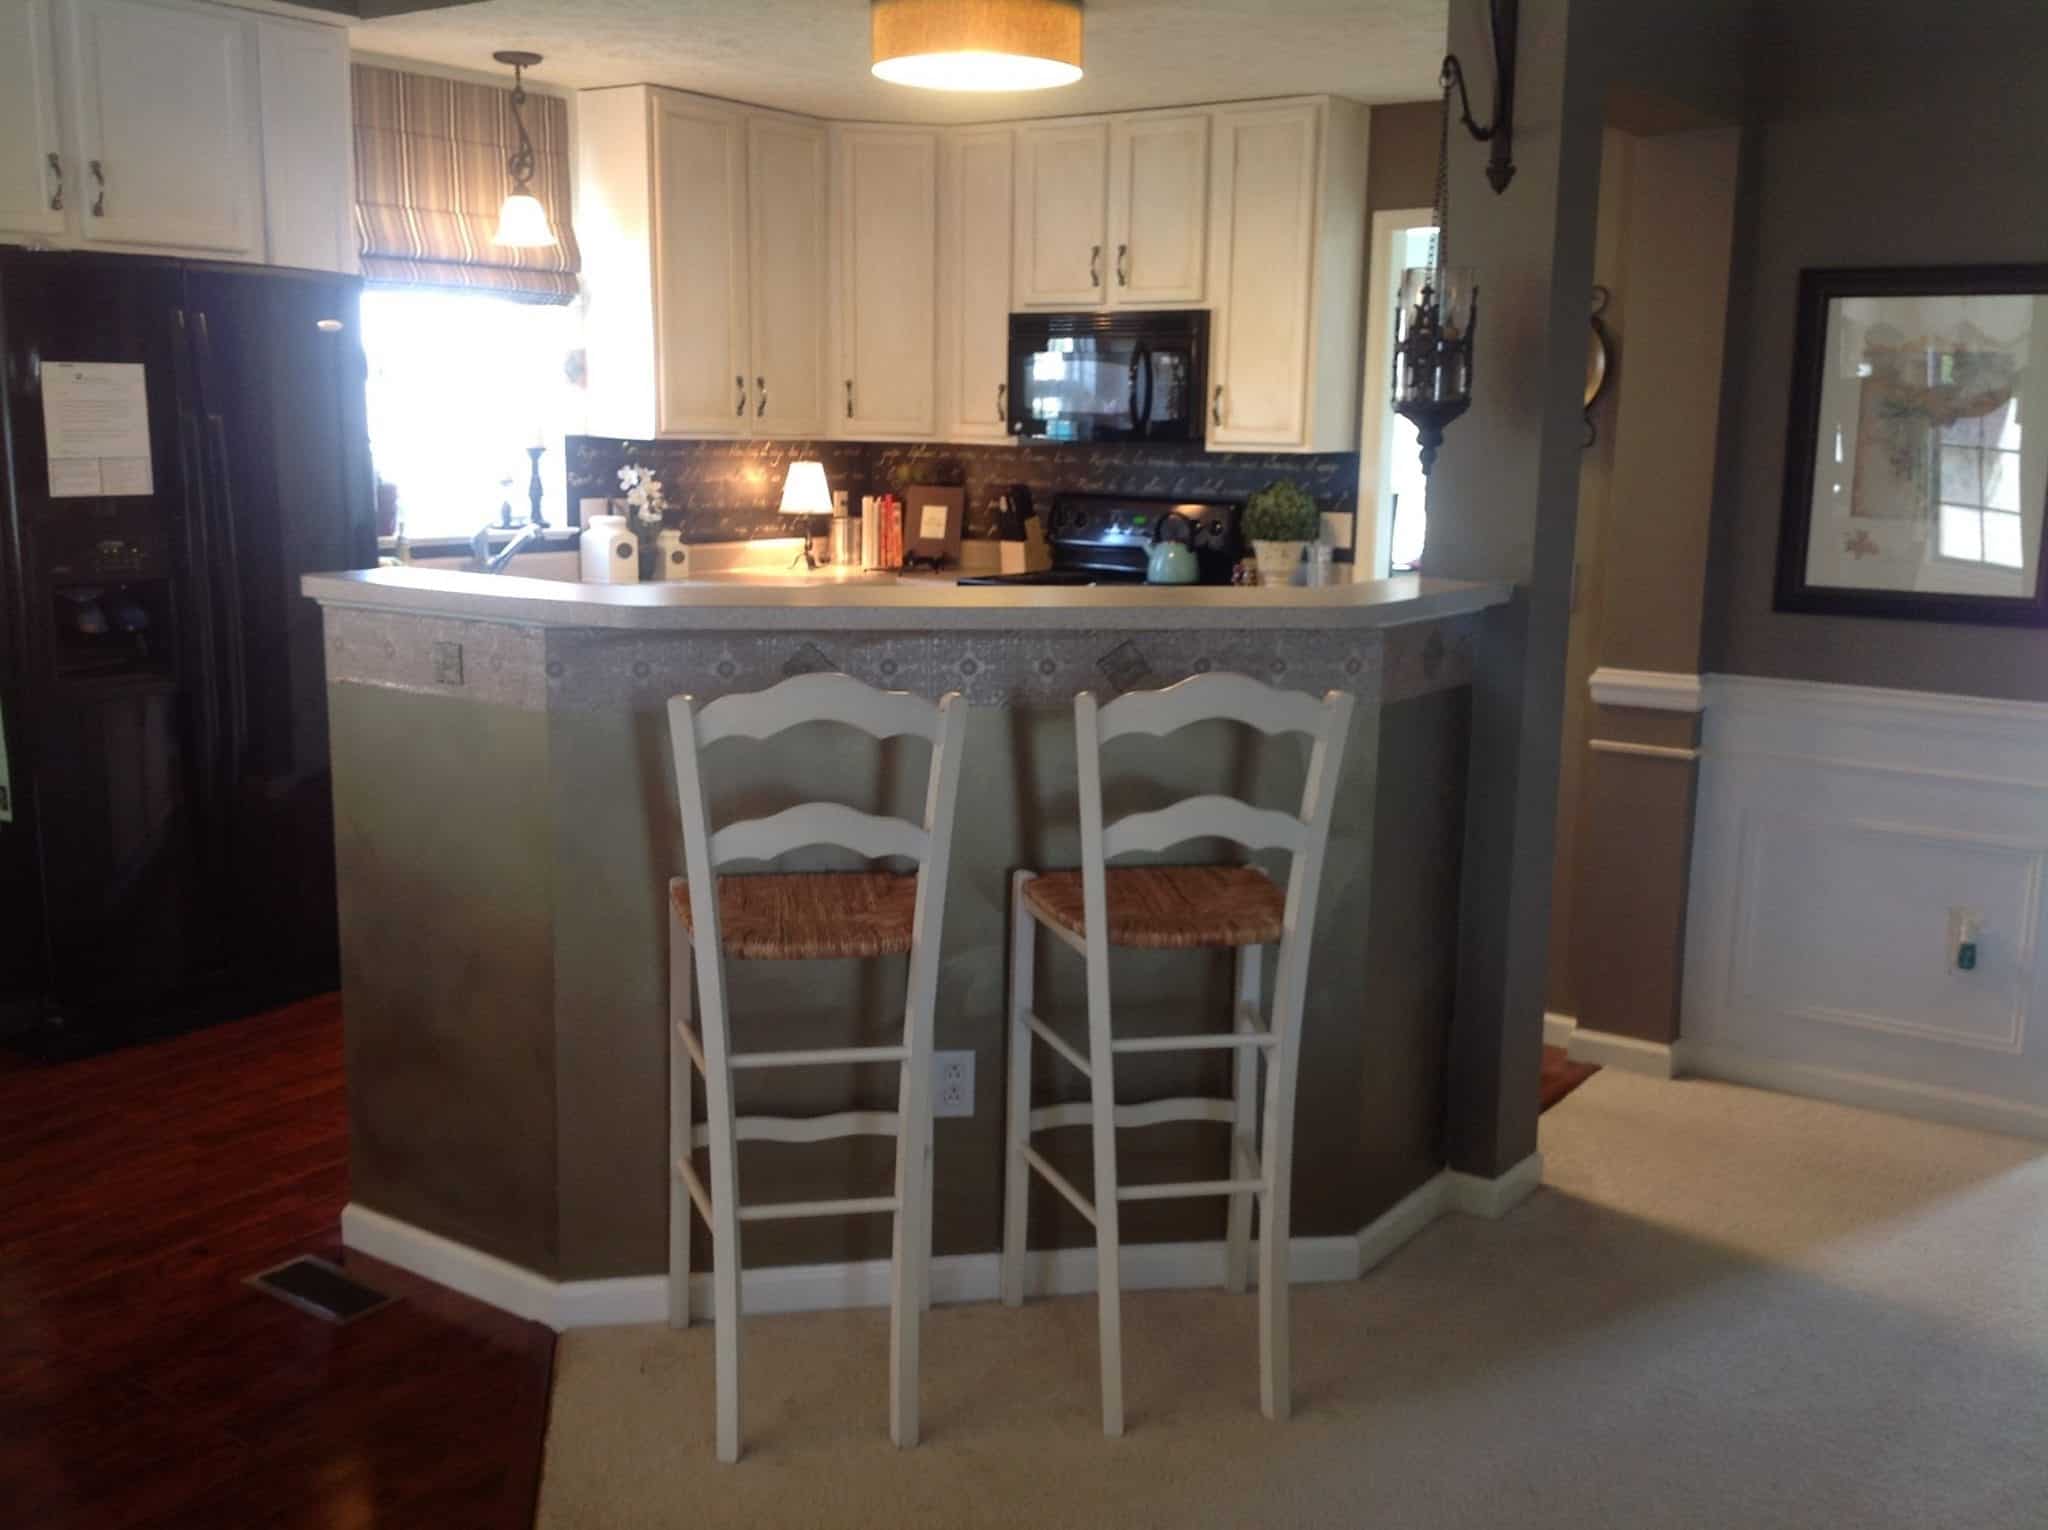
Updated: Island with the Rustoleum treatment...but more demolition is coming :)

Demolished Island, testing out our cardboard template before applying butcher block

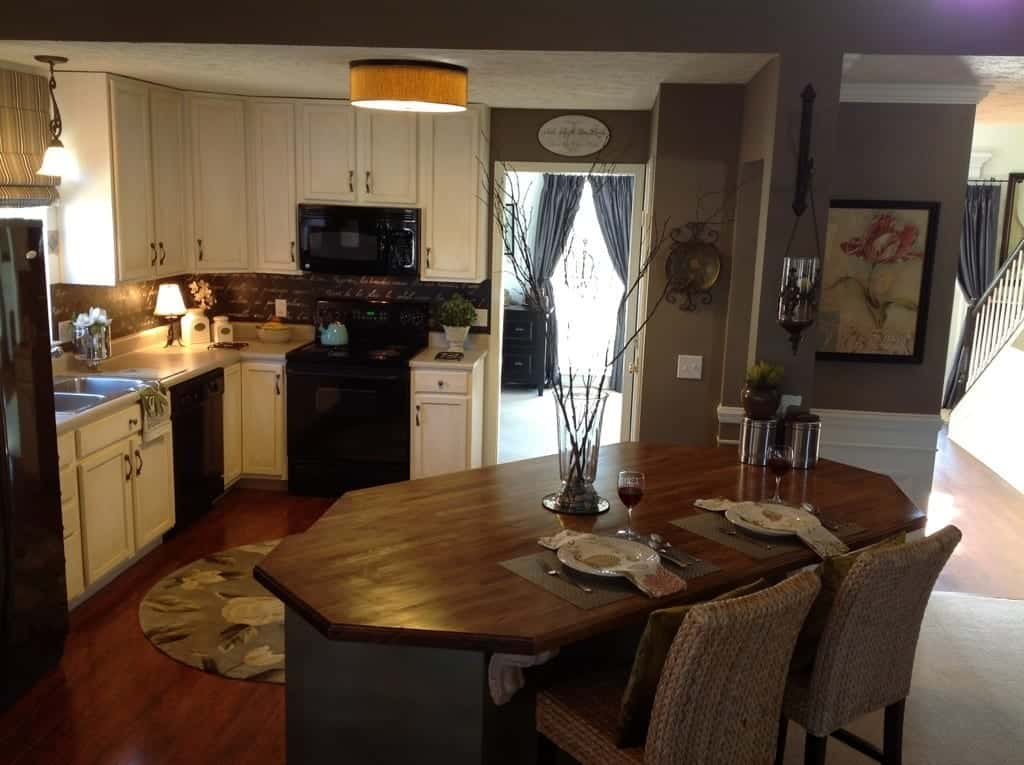
After - the current state. More projects happen as we can afford it. I hope you enjoyed our tour :)

I hope you're all having a wonderful Valentine's Day (I know I am!) ...and HAPPY BIRTHDAY, Denyse!
It was so kind of you to ask me to guest blog here for you today, and can I just tell you? I was honored and so excited. I am loving your new blog name, and I can recall reading your first blog headline, "My Crazy, Beautiful Life" and thinking to myself, "I bet that girl is fun to hang out with". I have thoroughly enjoyed getting to know you in blogland.
Best of luck with your move!
All the best!!
Jeanette

http://www.snazzylittlethings.com


Wow, your hard work paid off, it looks fabulous!
ReplyDeleteHi, New follower via the Aloha Blog Hop. Glad I found your lovely blog. I hope you will visit me at My Dream Canvas and follow me back!
ReplyDeletemydreamcanvas.blogspot.com
OMG! Good for you. You deserve this. Thanks for co-hosting!
ReplyDeleteVickie
Ohabbyday.blogspot.com
wow! looks amazing! following from aloha friday!
ReplyDeleteemmyinthemaking.blogspot.com